How Much Does It Cost to Get a Logo Embroidered on a Cap?
What sets the cost of a logo embroidered on a cap: stitch count, digitising, thread colours, positions, 3D puff, cap model and quantity, and how to compare quotes.
By Zintora Team
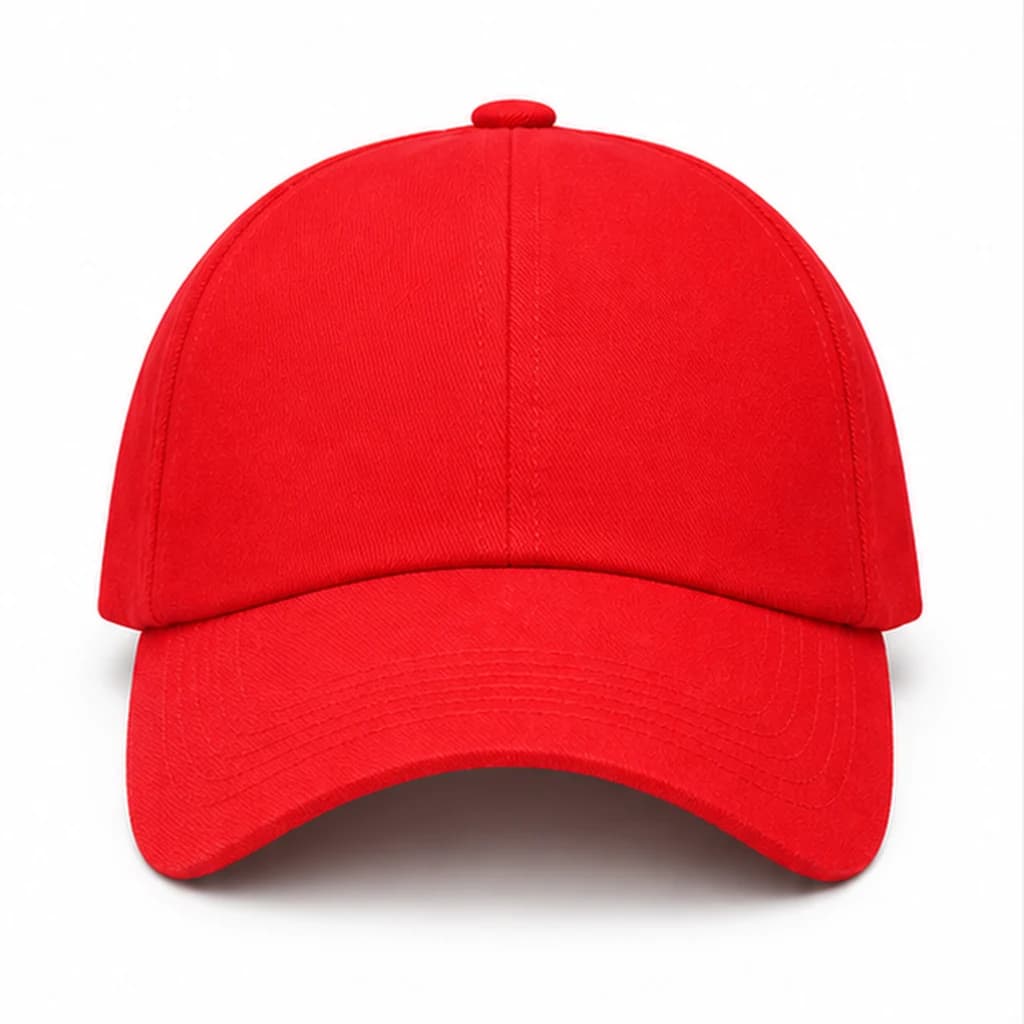
The cost of getting a logo embroidered on a cap is set by a handful of factors: the cap model, the stitch count of your logo, a one-off digitising set-up, the number of thread colours, the number of positions, 3D puff or flat stitching and the quantity. There is no fair single figure, so compare quotes built on identical details.
That is why two suppliers can give very different answers to the same question. One may include digitising, the other may charge it separately; one may price a small front logo, the other a large one with a side mark. This guide explains each cost factor, shows how they interact, and ends with a way to ask for quotes you can actually compare. For cap styles, fit and the mistakes to avoid when ordering, see our guide to embroidered caps for business.
The cost factors at a glance
| Factor | What it is | Why it moves the cost | How to keep it in check |
|---|---|---|---|
| Cap model | The blank cap: fabric, panels, structure, closure | Better fabrics and constructions cost more before any stitching | Choose the cap for how it will be worn, not the most expensive by default |
| Stitch count | The number of stitches in your embroidered logo | More stitches mean more machine time per cap | Keep the logo compact and avoid large filled areas |
| Digitising | Turning your logo into a stitch file the machine can read | A one-off set-up per design, spread over the quantity | Reuse the same file on reorders |
| Thread colours | The number of colours in the design | Each colour is a thread change and a check on the machine | Use one or two colours, or tone-on-tone |
| Positions | Front, side, back or under the peak | Each position is a new hooping and a new run | Start with the front panel only |
| Flat or 3D puff | Standard stitching or raised embroidery over foam | 3D needs foam, denser stitching and a suitable crown | Use 3D for a simple, bold shape only |
| Quantity | The number of caps in the run | Set-up is shared by more caps as the run grows | Combine teams into one order with the same design |
| Packing and delivery | Bulk carton, individual bags, many addresses | Extra handling and more parcels | Deliver to one address where possible |
Pricing is confirmed in your quote, ex VAT; printing and delivery are extra, UK import VAT and duties are paid on delivery.
The cap itself
The cap is the base of every quote. A brushed cotton cap with a structured front, a sports visor in technical fabric and a knitted beanie are different products with different costs before a single stitch is added. Structure matters for embroidery too: a firm front panel holds a logo flat and takes 3D embroidery well, while a soft, unstructured crown can pucker under dense stitching.
So the first question is not "how much" but "which cap". Decide whether people will wear it at an outdoor event, as part of a uniform or as a gift, and choose the model to match. The branded caps page groups the shapes we brand.
Stitch count: the factor most people do not know about
Embroidery is priced by the work the machine does, and that work is measured in stitches. A small text logo might need a few thousand stitches. A large badge with filled areas and fine detail can need many times that. More stitches mean more machine time for every cap, and the cost follows.
What drives the stitch count:
- Size. A logo twice as wide covers roughly four times the area.
- Fill. Solid filled shapes need far more stitches than outlines or text.
- Detail. Fine lines, small text and gradients are hard to stitch and often need simplifying anyway.
A good digitiser will suggest how to adapt your logo for thread. Fewer, cleaner shapes usually look better on a curved cap and cost less to stitch.
Digitising: the one-off set-up
An embroidery machine cannot read a logo file directly. Your design has to be digitised: redrawn as a stitch file that tells the machine where each stitch goes, in what order, at what density and with which thread. This is skilled work, and suppliers either charge it as a one-off set-up or include it in the unit price.
Two practical points follow. First, on a small run, digitising is a larger share of the total, because it is spread over fewer caps. Second, once you own a good stitch file, reorders of the same design do not need it again, so ask whether the file is kept for future orders.
Thread colours
Each colour in the design is a thread change. Multi-head machines can hold many colours, but each extra colour adds set-up and checking. A one-colour or tone-on-tone logo, such as dark navy thread on a navy cap, is the simplest and often the most stylish. Match colours to thread charts rather than screen colours, since thread has its own shade range.
Positions on the cap
Most caps carry one logo on the front panel. Each extra position, such as a small mark on the side, a website on the back strap or a pattern under the peak, means the cap is hooped again and run through the machine again. It also needs its own proof. Starting with the front panel only and adding a second position later, if the cap proves popular, keeps the first order simple.
3D puff or flat embroidery
3D puff embroidery stitches over a layer of foam to make the logo stand out from the cap. It looks bold on a structured front panel, but it needs denser stitching, works best on simple shapes and thick letters, and does not suit fine detail or soft crowns. Ask whether the cap model you have chosen takes 3D before you plan the design around it. Flat embroidery is the safer default for detailed logos.
Quantity and the cost per cap
Two parts of the cost behave differently as the order grows:
- Fixed costs, such as digitising and machine set-up, are paid once per design and shared across every cap.
- Variable costs, such as the cap, the stitching time and the packing, apply to every cap.
At the smallest quantities, the fixed part weighs heavily on each cap. As the run grows, it shrinks per cap, and the variable part dominates. Combining two departments into one order with the same design is often more effective than ordering twice.
Packing and delivery
Caps travel well, but packing still matters. Bulk cartons to one office are the simplest. Individual bags, a printed card or delivery to each person's home add handling. Zintora delivers across the UK and internationally to Europe, the Middle East and Africa, Asia-Pacific and the Americas. International shipments add customs paperwork, and UK import VAT and duties are paid on delivery.
How to get a comparable quote
The way to answer "how much" is to ask several suppliers the same, complete question. Send each of them:
- The cap model or style, with colour and closure.
- Your logo as a vector file (PDF, SVG or EPS).
- The finished logo size in centimetres, for example the width on the front panel.
- The number of thread colours, with colour references.
- The positions: front only, or front plus side or back.
- Flat or 3D embroidery for each position.
- The quantity, and whether colours of the same cap can be mixed.
- Packing and delivery: one address or many, and the countries.
Then check each quote for the same items: is digitising included or separate, is a digital proof included, is delivery included, and are prices shown ex VAT. A quote that leaves any of these out is not comparable with one that includes them.
Caps in the Zintora catalogue
These caps and hats are live on zintora.uk with the minimums their product pages state. Their pages list embroidery and transfer as branding methods.
| Model | What the product page states | Minimum |
|---|---|---|
| Classic Cap | Cotton cap with an adjustable closure and a curved peak | 25 |
| Sports Cap | Open, stretchy sports visor, 97% polyester and 3% elastane, 56 to 59 cm | 25 |
| Bucket Hat | Bucket hat for campaigns, festivals and outdoor teams | 25 |
| Knitted Beanie | Knitted beanie with a wide turn-up for embroidery | 25 |
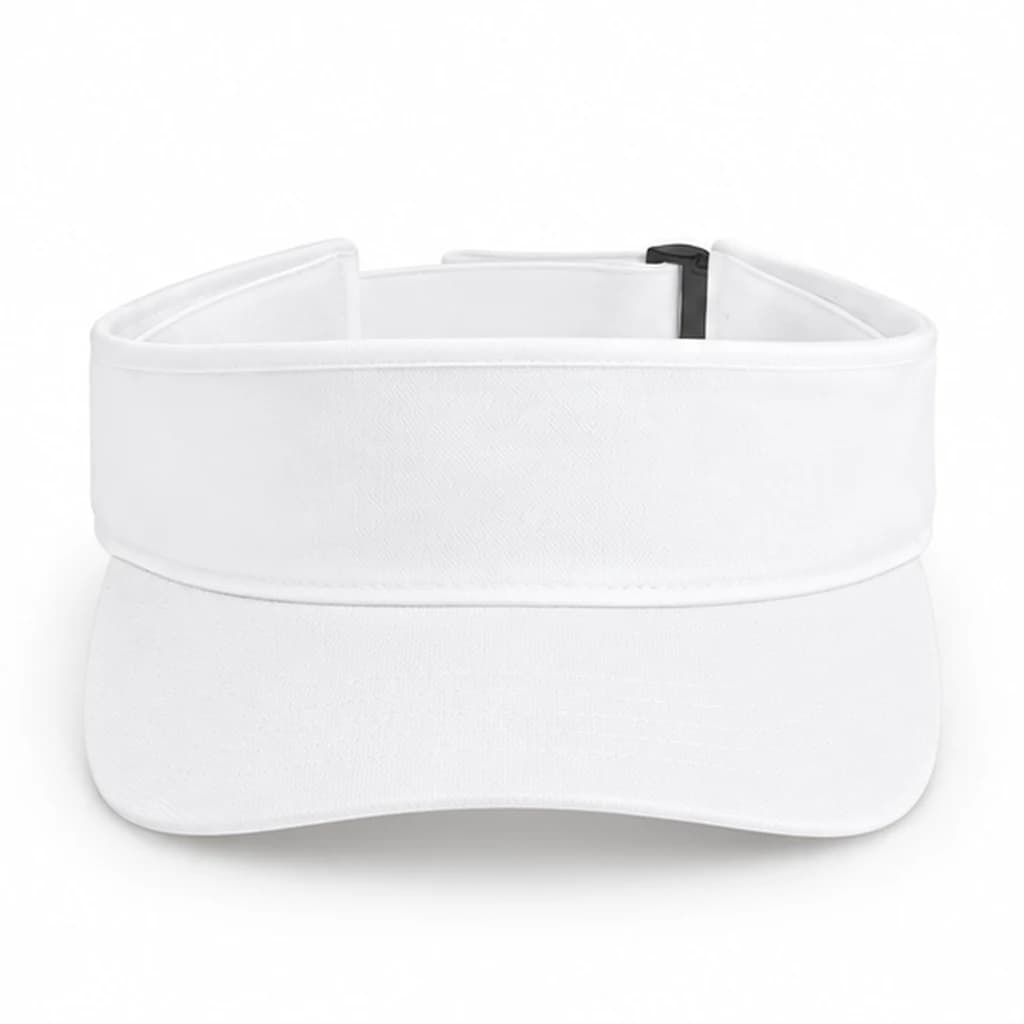
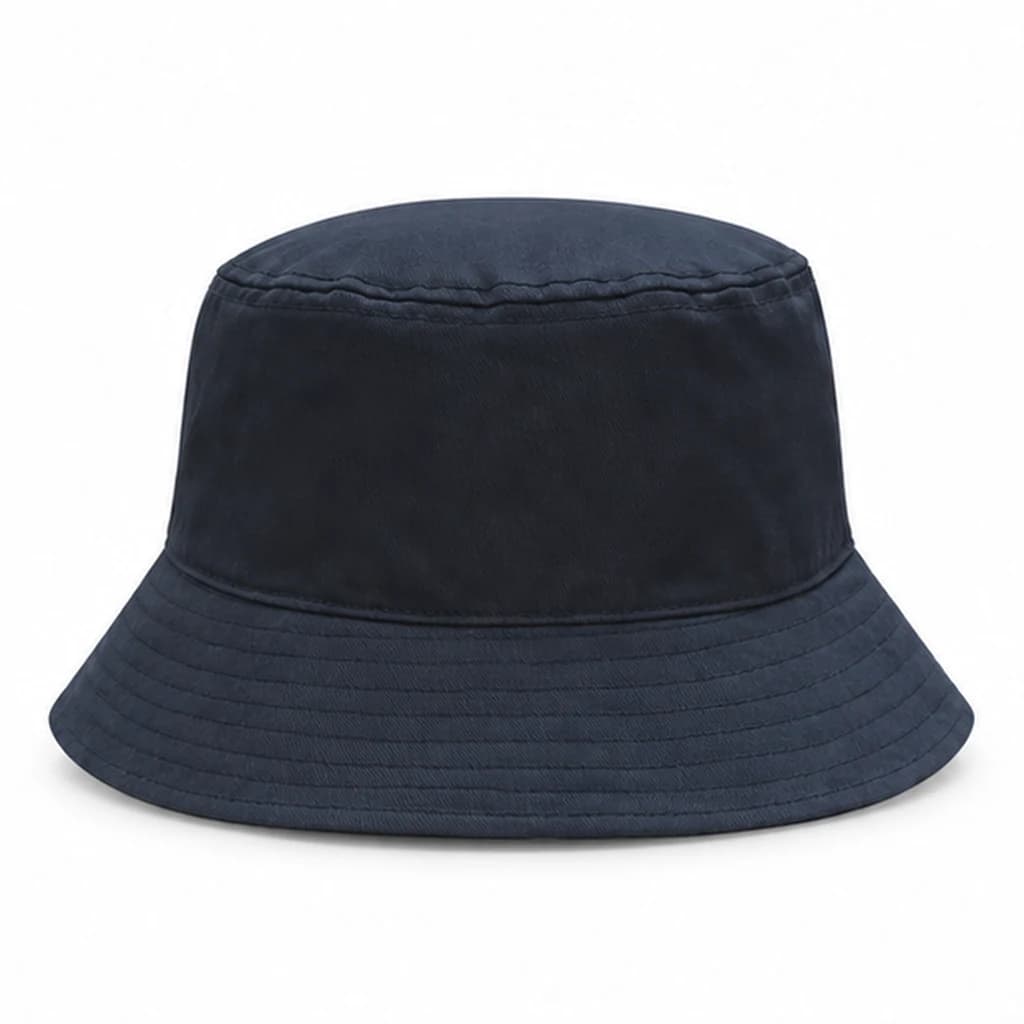
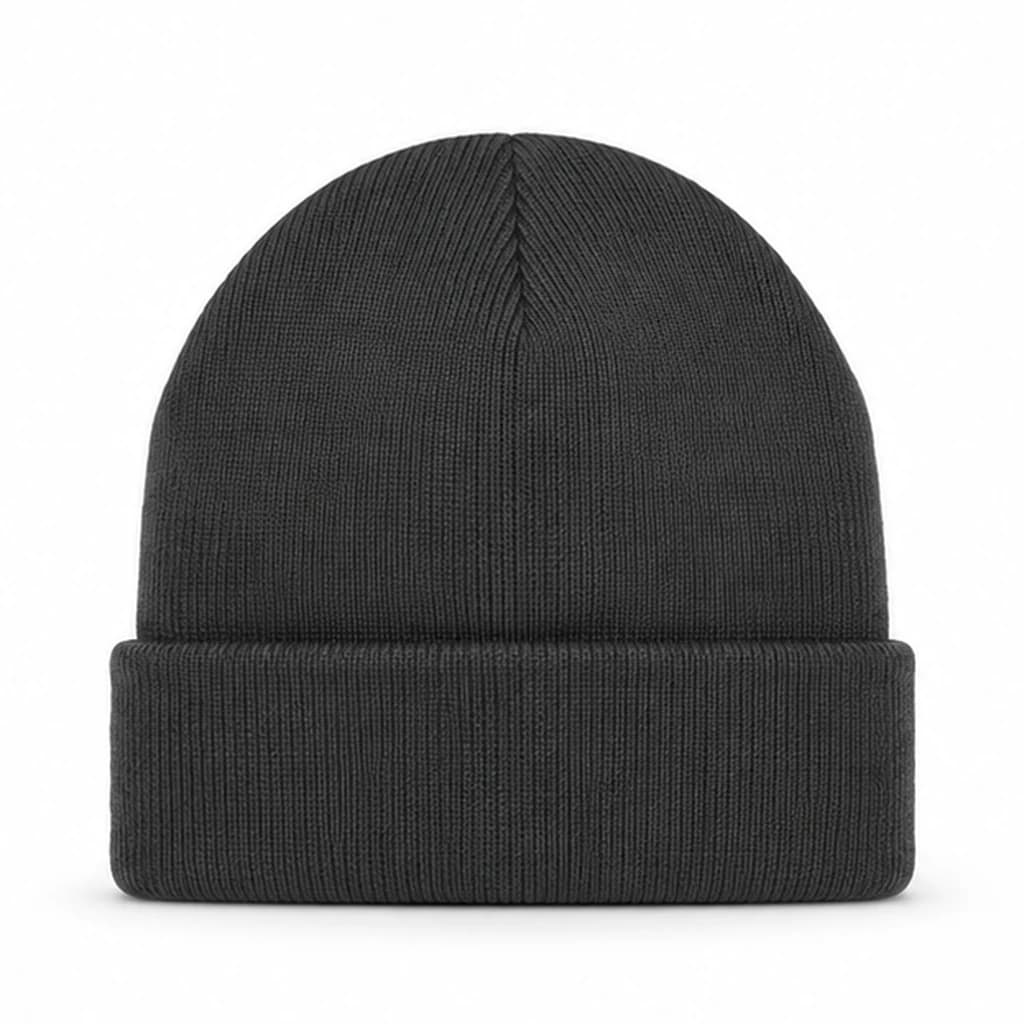
For most logos, the Classic Cap with a front-panel embroidery is the straightforward starting point. Every order includes a digital proof showing the position, size and thread colours before production. Production takes 10 to 20 working days after proof approval, confirmed in the quote. See the full catalogue or the branded workwear page if the caps are part of a uniform.
Cap embroidery quote checklist
- Cap model, colour and closure chosen
- Logo sent as a vector file
- Finished logo size agreed in centimetres
- Number of thread colours set, with references
- Positions decided: front only or more
- Flat or 3D embroidery chosen per position
- Quantity confirmed and colours to mix listed
- Digitising included or listed separately in every quote
- Packing and delivery addresses defined
- Quotes compared on the same details, ex VAT
Frequently asked questions
Why do quotes for cap embroidery vary so much?
Because suppliers often price different things: another cap, another logo size, digitising included or not, delivery included or not. Send every supplier the same details and the quotes become comparable.
Is digitising charged every time I order?
Usually not for the same design. Digitising creates the stitch file once. Ask whether the supplier keeps the file so reorders of an unchanged logo can reuse it.
Is 3D embroidery more expensive than flat embroidery?
It generally needs more work: foam, denser stitching and a cap with a firm front panel. It suits simple, bold logos. Ask for both options in the same quote if you are unsure.
Does a bigger logo cost more?
Usually yes, because a larger logo needs more stitches and more machine time. A compact logo also tends to look better on the curve of a cap.
How many caps do I need to order?
It depends on the model. The caps listed above have a minimum of 25 on their product pages. Request a quote with your quantity and we confirm the minimum and total.
Ready to price your caps? Browse the catalogue or request a quote with your logo, cap and quantity.