Hoodie Design for Business: How to Design a Team Hoodie
How a company designs its own team hoodie: logo placement on chest, back, sleeve and hood, embroidery or print per area, colour, sizing, artwork and proof.
By Zintora Team
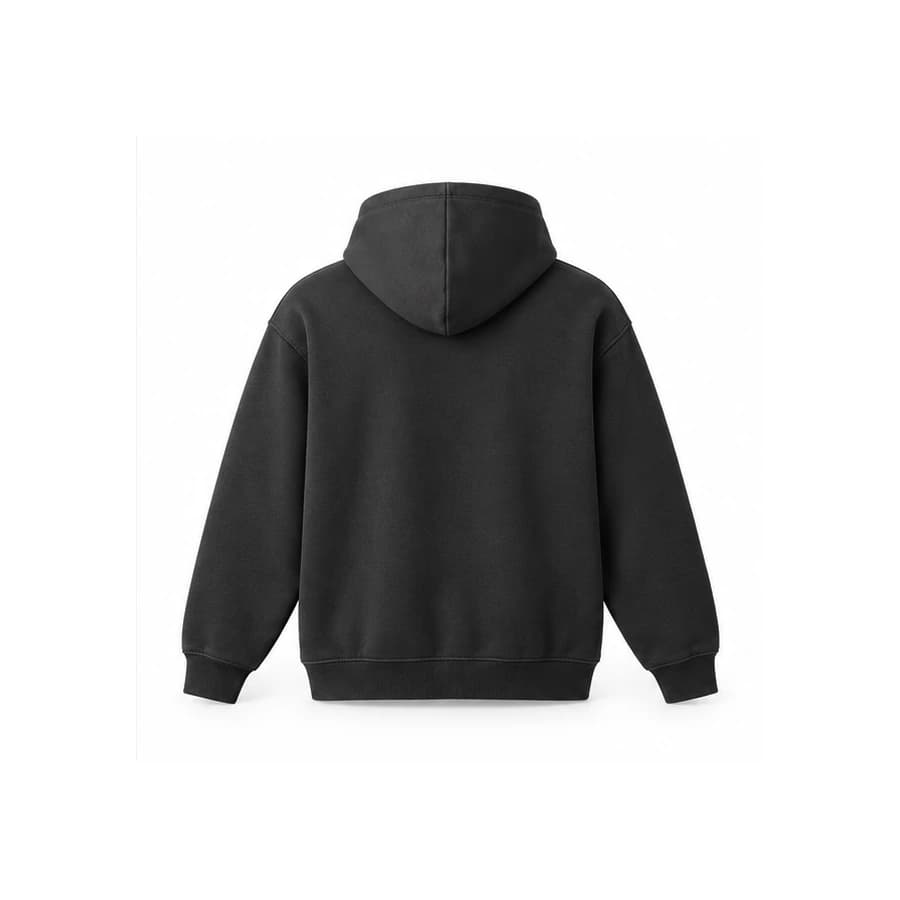
Good hoodie design for a business starts with four decisions: where the logo goes (chest, back, sleeve or hood), which technique suits each area, which garment colour gives the artwork enough contrast, and how sizes split across the team. Get those right, approve a digital proof, and the hoodie becomes something staff actually choose to wear.
This guide walks through how a company can design its own team hoodie, step by step: choosing the base garment, planning logo placement, picking embroidery or print per area, working with colour, sizing a whole team, preparing artwork files and approving the proof. Every product and price comes from the live Zintora catalogue. If you are still deciding whether hoodies are the right item at all, start with our guide to custom hoodies for business.
Start with the garment, not the logo
Whether you use an in-house designer or a custom hoodie maker, the garment decides what the design can be. A zip hoodie splits the front in two, an oversized cut gives a huge back panel, and a crew neck sweatshirt has no hood at all. Pick the base model before you place a single mark.
These are the hoodies and sweatshirts in the current range, with the personalisation methods each product page lists.
| Model | Style | Personalisation listed | From (ex VAT) |
|---|---|---|---|
| Summit Hoodie | 400 g/m² brushed fleece, relaxed cut | Embroidery, screen printing, appliqué patch | £22.88 |
| Harbor Zip Hoodie | 350 g/m² fleece, full metal zip | Embroidery, heat transfer | £25.74 |
| Cinder Heavyweight Hoodie | 500 g/m² loopback fleece, oversized | Embroidery, large back print | £30.02 |
| Premium Zip Hoodie | Full zip, unisex, XS to 5XL | Screen printing, DTG printing, embroidery | £22.88 |
| Sustainable Hoodie | Unisex, XS to 5XL, documentation per batch | Screen printing, DTG printing, embroidery | £21.45 |
| Crew Neck Sweatshirt | No hood, unisex, XS to 3XL | Screen printing, DTG printing, embroidery | £17.16 |
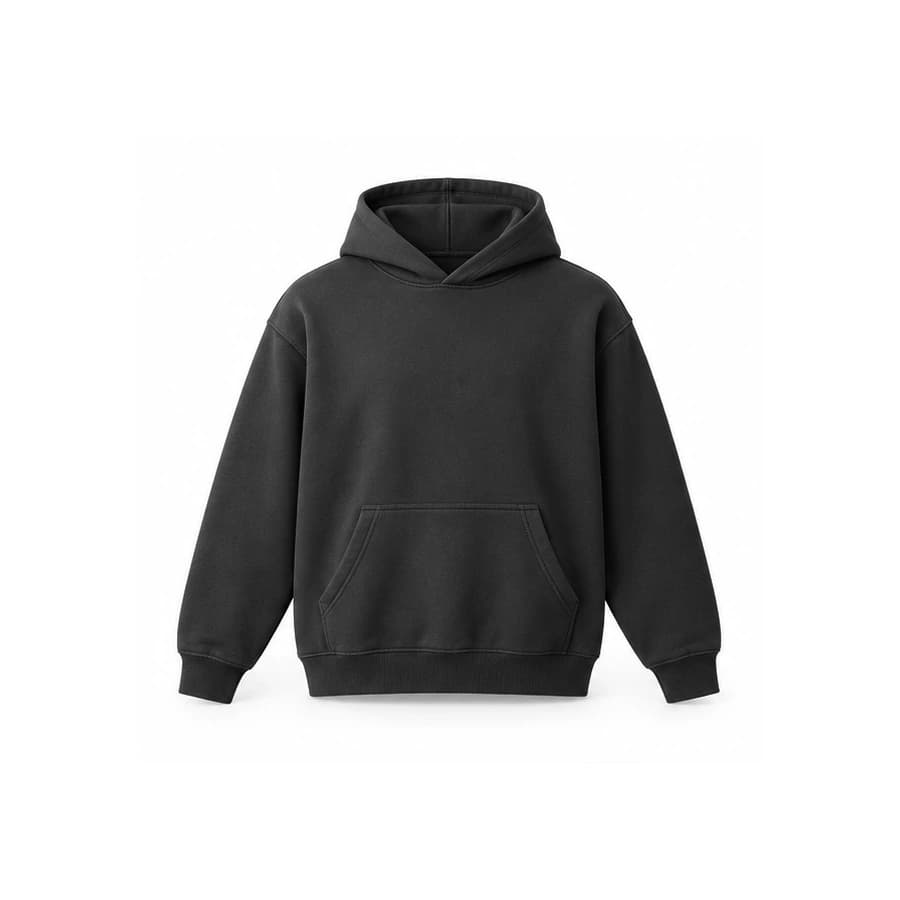
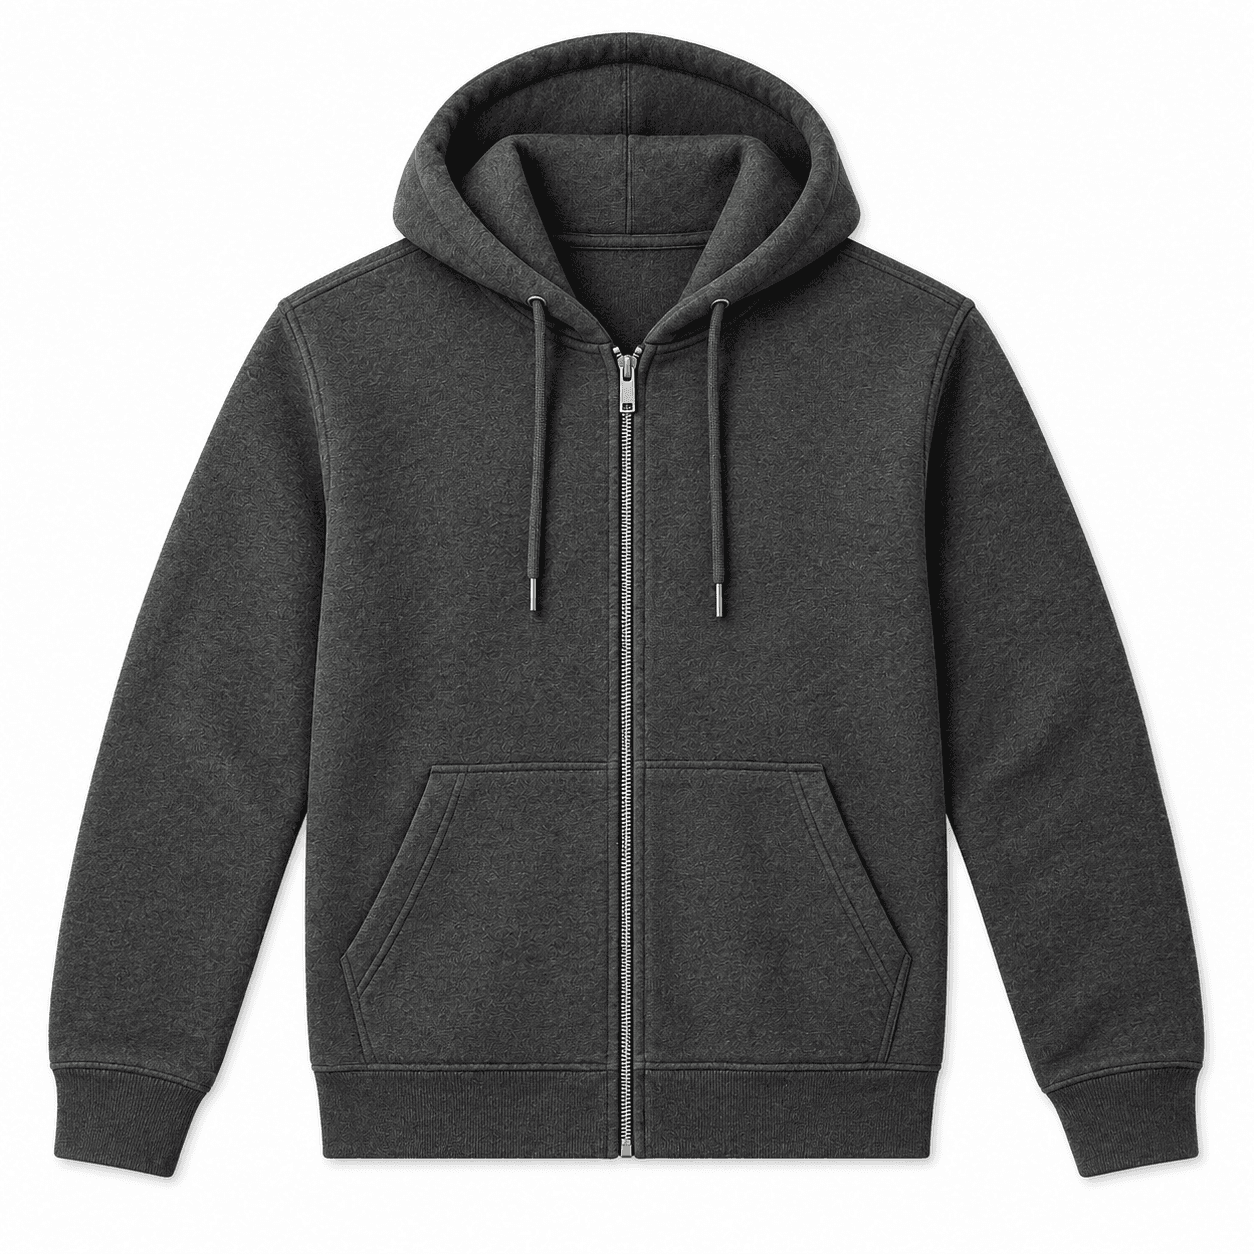
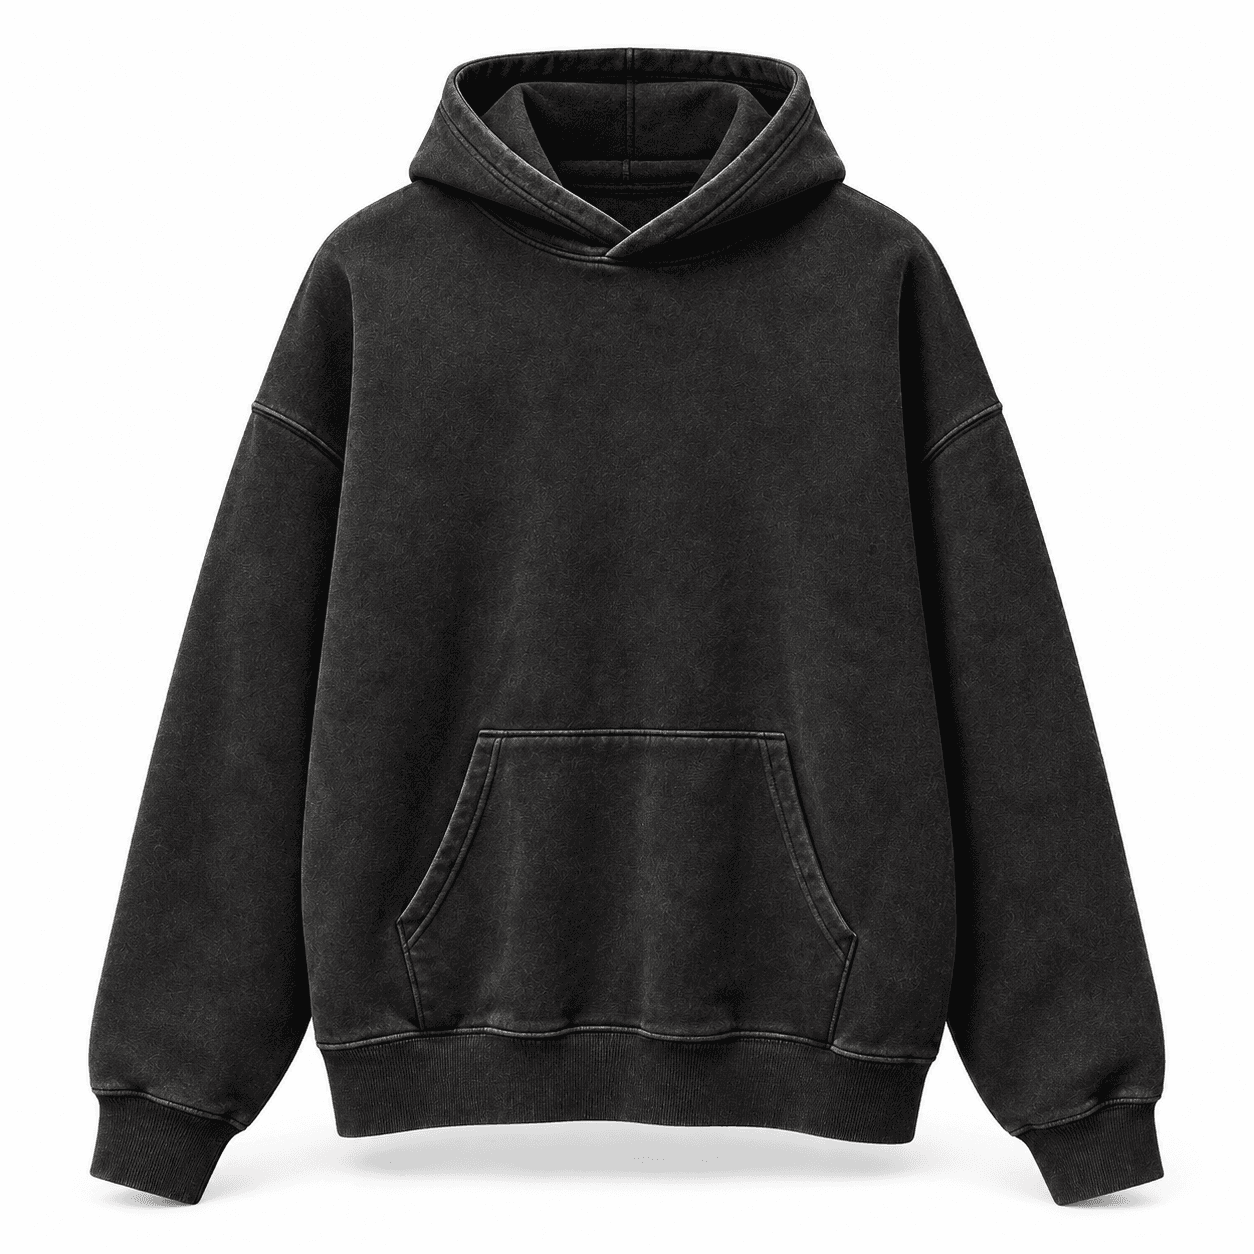
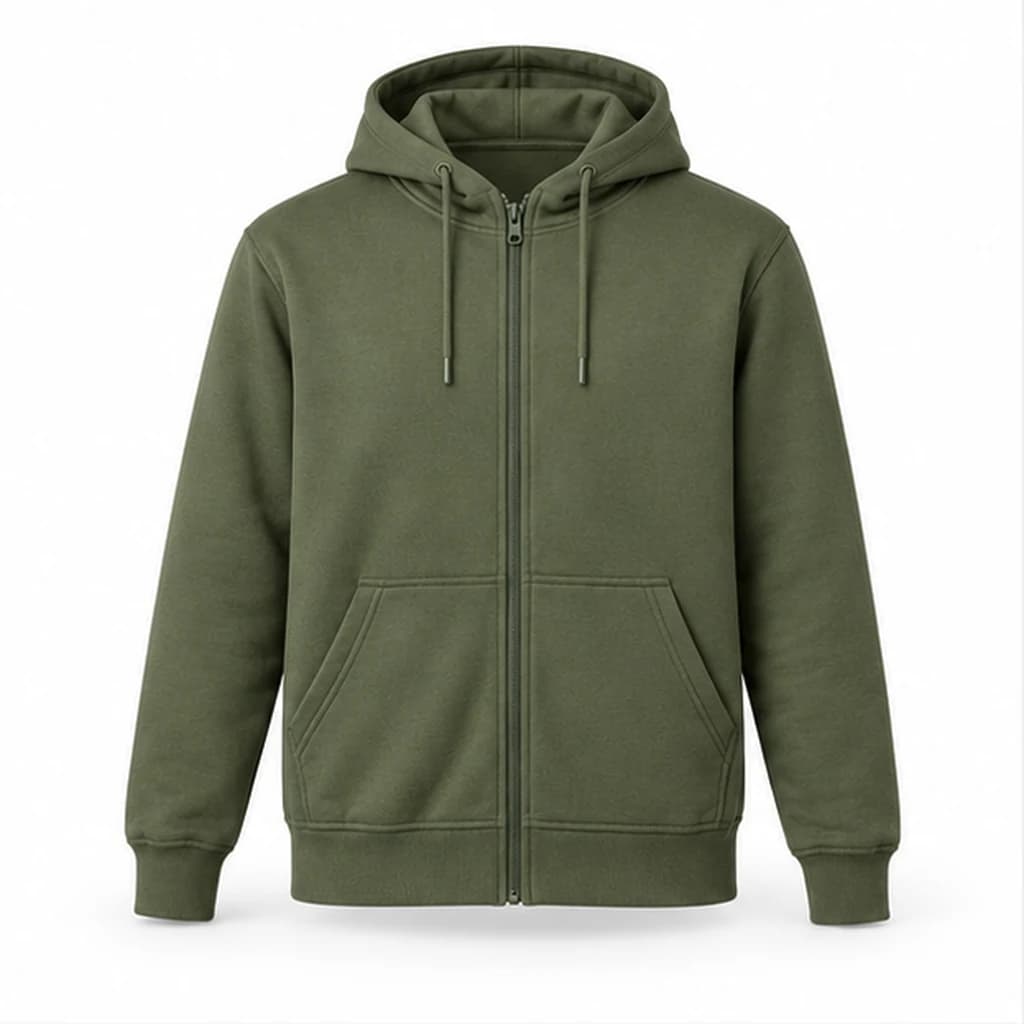
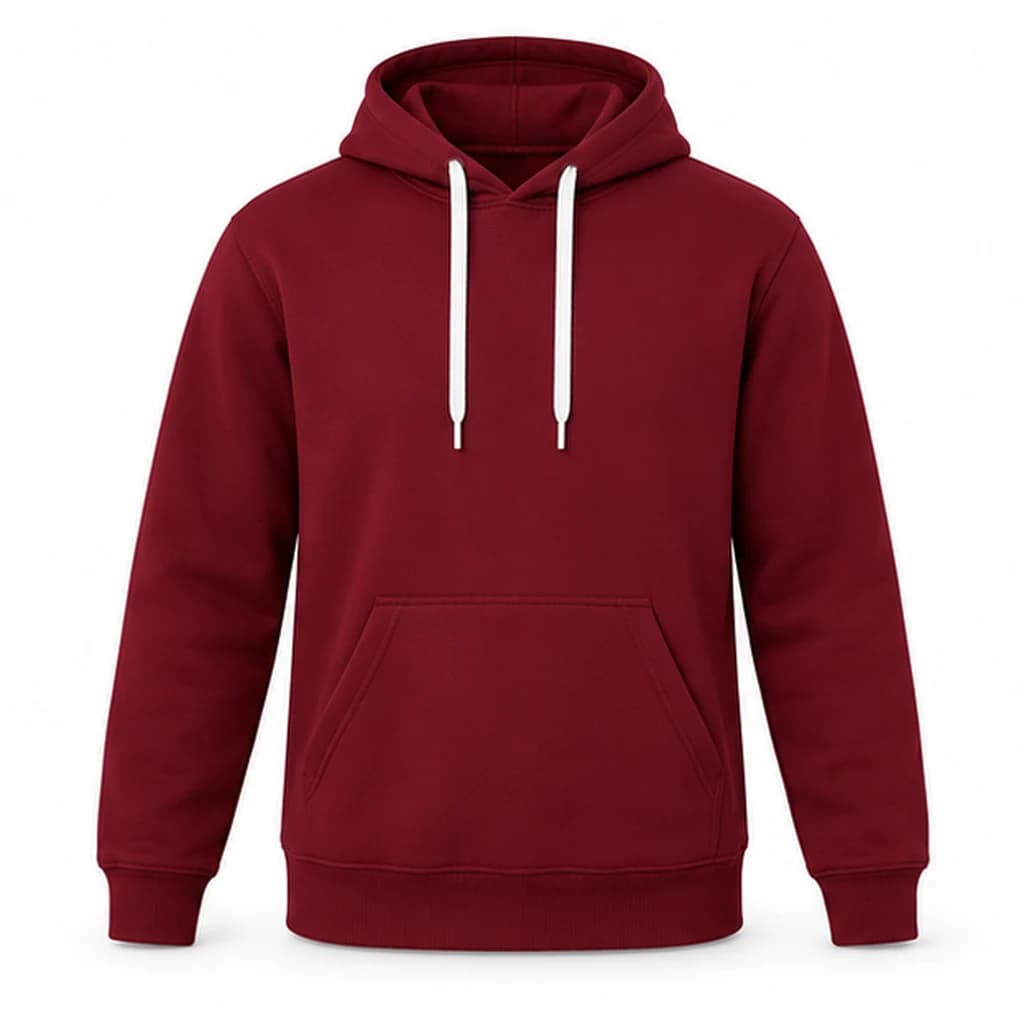
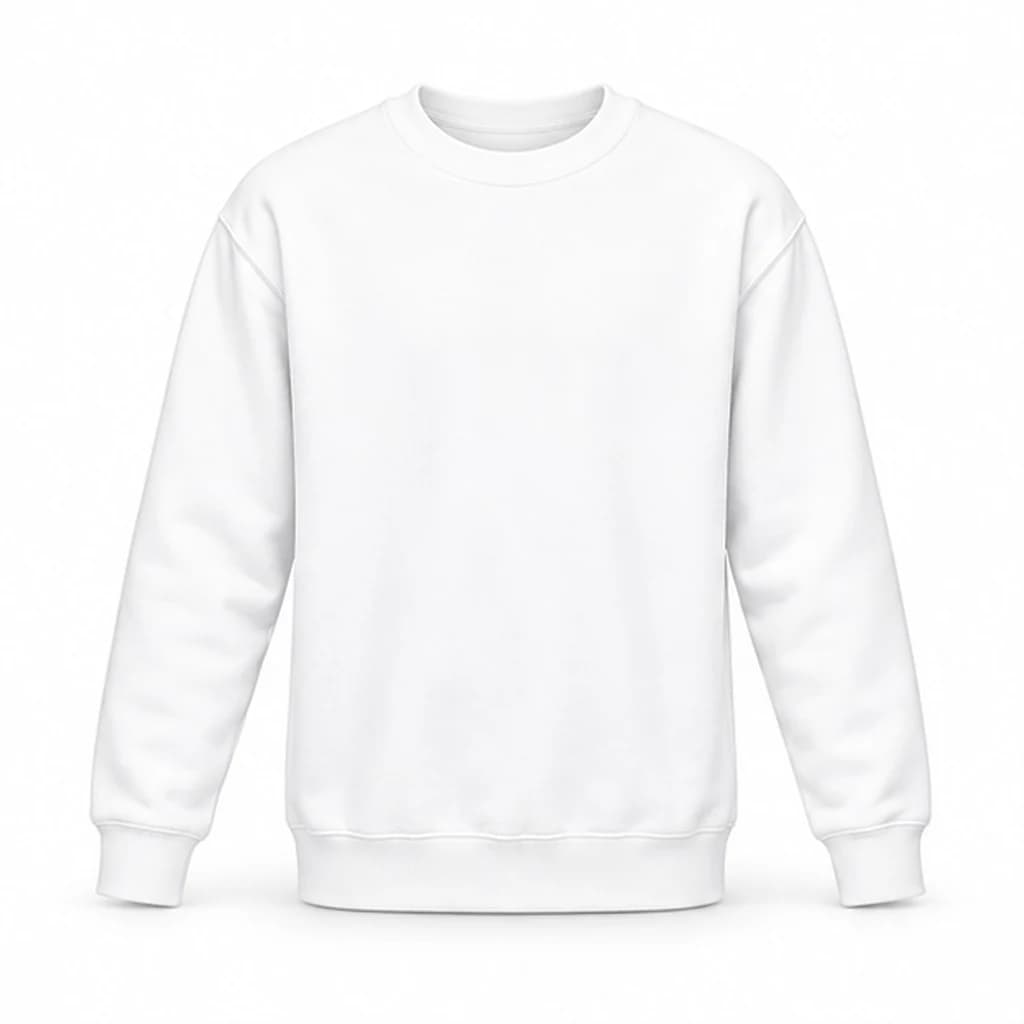
Prices are starting prices shown in the catalogue on 15 October 2026, ex VAT; printing and delivery are extra, UK import VAT and duties are paid on delivery. Minimum orders are 20 units for the Summit, Harbor and Cinder models and 25 units for the other three. The full range, with every colour and method, sits on our custom hoodies page.
Logo placement: chest, back, sleeve and hood
Placement is the heart of hoodie design. Strong team hoodies usually combine a small mark with one larger one rather than covering every surface.
Chest
The chest is the default spot, and for good reason: it is visible in meetings, on video calls and in photos. On a pullover such as the Summit Hoodie, a left chest or centre chest logo both work. On a zip hoodie the zip divides the front, so the logo sits on one side. The Harbor Zip Hoodie product page names the left chest as its intended marking area, where the logo stays visible with the garment open or closed.
Back
The back is the largest flat area and the place for a statement: a big logo, a team name or an event message. The Cinder Heavyweight Hoodie lists a large back print as one of its two methods, making use of the full surface of the oversized cut. The Premium Zip Hoodie page also suggests keeping the logo on the chest and leaving the back free for a larger design.
Sleeve
A sleeve mark is a quiet second touch: a small wordmark, a web address or a founding year. The Summit and Cinder pages both mention a small mark on the sleeve as an option, combined with a chest logo.
Hood
The hood is the area people ask about most and the one to confirm first. None of the product pages in this guide lists the hood as a marking area, so if a hood design matters to you, say so in your request and the quote will confirm whether it is viable on the model you choose. Otherwise, keep the hood plain and let the chest and back do the work.
Embroidery or print: choosing per area
Each area can use a different technique, as long as the garment supports it. A common pattern is embroidery on the chest and print on the back, because embroidery gives a raised, durable finish to a small logo while print handles a large design with fine detail. Our guide to merchandise printing methods covers each method in more depth.
| Area | Typical choice | Why it works |
|---|---|---|
| Left or centre chest | Embroidery | Small logo, professional finish, tone-on-tone possible on the Summit Hoodie |
| Chest, more colours | Heat transfer or DTG printing | Fine detail or several colours where the model lists it |
| Full back | Screen printing or large back print | Large area, bold artwork, fewer colours |
| Sleeve | Embroidery | Small text or icon, a discreet second mark |
| Patch detail | Appliqué patch (Summit Hoodie) | A sewn-on piece that adds relief |
The final technique is confirmed according to the design, the material and the quantity, so treat this table as a starting point.
Colour and contrast
The garment colour is part of the design, not a background to it. A few principles help:
- Check contrast first. A dark logo on a dark hoodie disappears. If your brand colour is navy, a navy hoodie needs a white, grey or tone-on-tone version of the logo.
- Tone-on-tone for wearability. A logo embroidered in a thread close to the garment colour looks discreet and is more likely to be worn at weekends. The Summit Hoodie page lists tone-on-tone embroidery for exactly this.
- Limit the palette. One or two thread or ink colours usually read better than a full-colour logo, especially in embroidery.
- Choose from what exists. The Summit Hoodie comes in forest green, black, oatmeal and slate blue; the Harbor Zip Hoodie in anthracite, navy blue, stone and black; the Cinder in washed black, ash grey and moss; the Crew Neck Sweatshirt in white, black, navy blue, burgundy and heather grey.
If you want a brand colour match, name the colour reference in your request so the proof can show thread or ink colours against the garment.
Sizing a whole team
A hoodie that does not fit stays in a drawer, so give sizing real attention:
- Collect sizes before you order. A short form to staff with a size chart is better than guessing from a typical split.
- Check the size range. The Summit, Harbor, Cinder and Crew Neck models run XS to 3XL; the Premium Zip Hoodie and Sustainable Hoodie run XS to 5XL according to their product pages, which helps when you need to dress diverse teams with one model.
- Watch oversized cuts. The Cinder Heavyweight Hoodie has a boxy, dropped-shoulder cut, and its product page notes that the measurements differ from a standard sweatshirt, so check sizes with the team.
- Split across colours and sizes. The minimum order can be split across sizes and colours as you need.
- Plan for new starters. If hoodies go into welcome kits, add a few extra in the most common sizes. Our employee welcome packs page shows how clothing fits into a kit.
Preparing artwork files
Every product page asks for the same thing: send your logo as a vector PDF, SVG or EPS. A high-resolution PNG with a transparent background can also work.
Also:
- Send a one-colour version of the logo for embroidery and tone-on-tone work.
- Outline any fonts in the vector file so the text does not change.
- Give sizes in centimetres for each placement, for example a chest logo width, so the proof starts close to what you want.
- Name each file by area, such as chest, back and sleeve, when you use different artwork per position.
Proof approval: the last design step
Before production you receive a digital proof showing the product, the position, the dimensions and the colours of each mark. Check it carefully:
- Position: is each mark where you expect it, and clear of the zip, pocket or seams?
- Size: does the chest logo look right at real scale? Print the proof at 100% if in doubt.
- Colour: do the thread or ink colours contrast with the garment colour?
- Spelling: check every word, URL and date.
- Quantities: do the size and colour splits match the list you collected?
Production takes 10 to 20 working days after proof approval, confirmed in the quote. Count back from the date you need the hoodies and allow time for collecting sizes and approving the proof.
Mistakes to avoid when designing a team hoodie
- Too many marks. Chest, back, both sleeves and the hood at once looks like a uniform, not something people want to wear.
- Logo too big on the chest. A modest chest logo usually looks more considered than one that fills the front.
- Ignoring the zip. On a zip hoodie, a centred chest logo gets cut in half.
- Low contrast. Check the logo colour against the actual garment colour, not just your brand guidelines.
- Guessing sizes. Ask the team rather than ordering a standard split.
- Low-resolution artwork. A blurry file leads to delays at proof stage.
For matching summer T-shirts, see our custom t-shirts page; the same placement thinking applies.
Delivery and sustainability
Zintora delivers across the UK and internationally to Europe, the Middle East and Africa, Asia-Pacific and the Americas. The quote confirms delivery to one office or to several addresses.
The Cinder Heavyweight Hoodie is classed as a recycled cotton blend, and the Sustainable Hoodie has its composition and any accreditation confirmed before production, per batch. The only certificate we name is the GRS of The Tenth House, checked per lot; certificates for other products are available on request. Our sustainability page explains how we handle documentation.
Hoodie design checklist
- Base garment chosen: pullover, zip, oversized or crew neck
- Placement agreed for each area: chest, back, sleeve, hood
- Technique chosen per area: embroidery or print
- Garment colour picked with enough contrast for the logo
- Sizes collected from the team, with extras for new starters
- Artwork sent as vector PDF, SVG or EPS, with a one-colour version
- Digital proof checked for position, size, colour and spelling
- Delivery addresses and the date needed included in the request
Frequently asked questions
Can I design my own hoodie with my company logo?
Yes. Choose a model from the catalogue, decide where each mark goes and send your logo as a vector file. You receive a digital proof to approve the placement, size and colour before production.
Where should a logo go on a hoodie?
The chest is the most common spot, often with a larger design on the back or a small mark on the sleeve. On a zip hoodie, place the chest logo to one side of the zip.
Is embroidery or printing better for a hoodie design?
Embroidery suits small chest and sleeve logos with a professional finish. Print suits large back designs or artwork with many colours. The technique is confirmed according to the design, material and quantity.
How much does a custom made hoodie cost?
In this guide, prices start from £17.16 ex VAT for the Crew Neck Sweatshirt and from £22.88 ex VAT for the Summit Hoodie, before printing and delivery. The quote confirms the final figure.
Can I design my own sweatshirt without a hood?
Yes. The Crew Neck Sweatshirt has no hood or zip, so the front is clear for an embroidered chest logo, a large screen print or a DTG print.
Ready to design your team hoodie? Browse the catalogue or request a quote with the model, placements, colours, size split and the date you need them. A specialist replies to every request.